
Creating the case
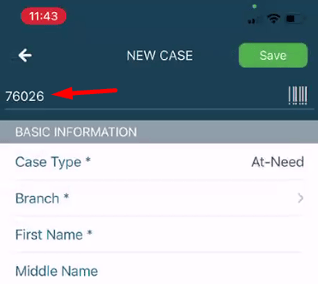
On your Case Listing, select the + icon. You will be taken to a New Case page.
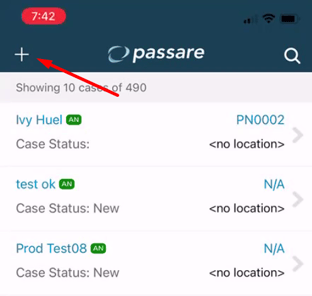
Under Basic Information, tap next to each field to type or select case details. Required fields are indicated by a *.
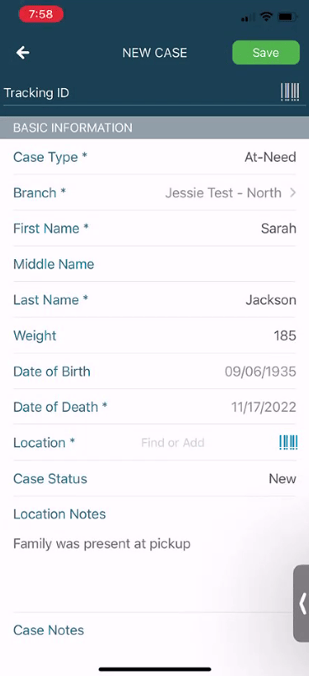
Tracking-specific fields
On this page, you will see Tracking ID and Location fields. These will help you begin the decedent tracking process.
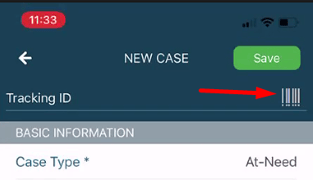
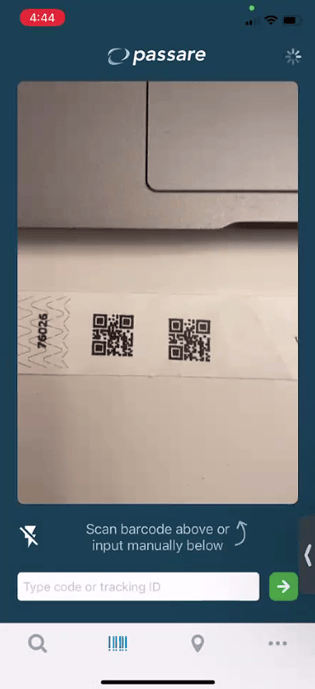
First, you will want to attach a QR code to the body and associate it with the case. To do this, click the barcode icon in the top-right to scan the Tracking ID.
🤔 You might be wondering... What if the wristband goes in the retort? No problem! Learn how to assign multiple tracking codes.
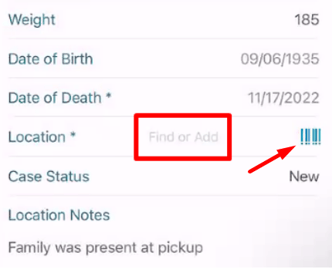
Second, don't forget to log the Location of the body! Scan your location's QR code with the barcode icon or click Find or Add to select from a list.
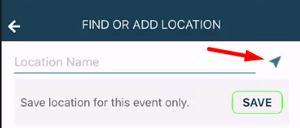
💡 Pro tip: Are you off-site and don't have a code to scan? Select Find or Add, then the GPS tool in the top-right. This will log your current location!
Save the page. Your case is now created, and you are ready to continue tracking!
Next, track locations and items in the app.
Need more information?
- Getting Started with the decedent tracking app
- Tracking locations and items in the decedent tracking app
- Assign multiple tracking codes
Need help? Email us at support@passare.com or call 1-800-692-5111.
📦 Don't have QR codes? As a convenience to you, we sell wristbands and stamp-sized QR codes for just $0.50 each, plus shipping. To place an order, contact Passare Support, and we'll be happy to ship them out!