View decedent tracking details in Passare
Monitor decedent tracking information across one or several cases in the web app.
Jump ahead to
View tracking data in the case
Information logged in the decedent tracking app syncs to its respective Passare case.
To find these details, click into the case from your Case Listing. Go to Care Center > Tracking.
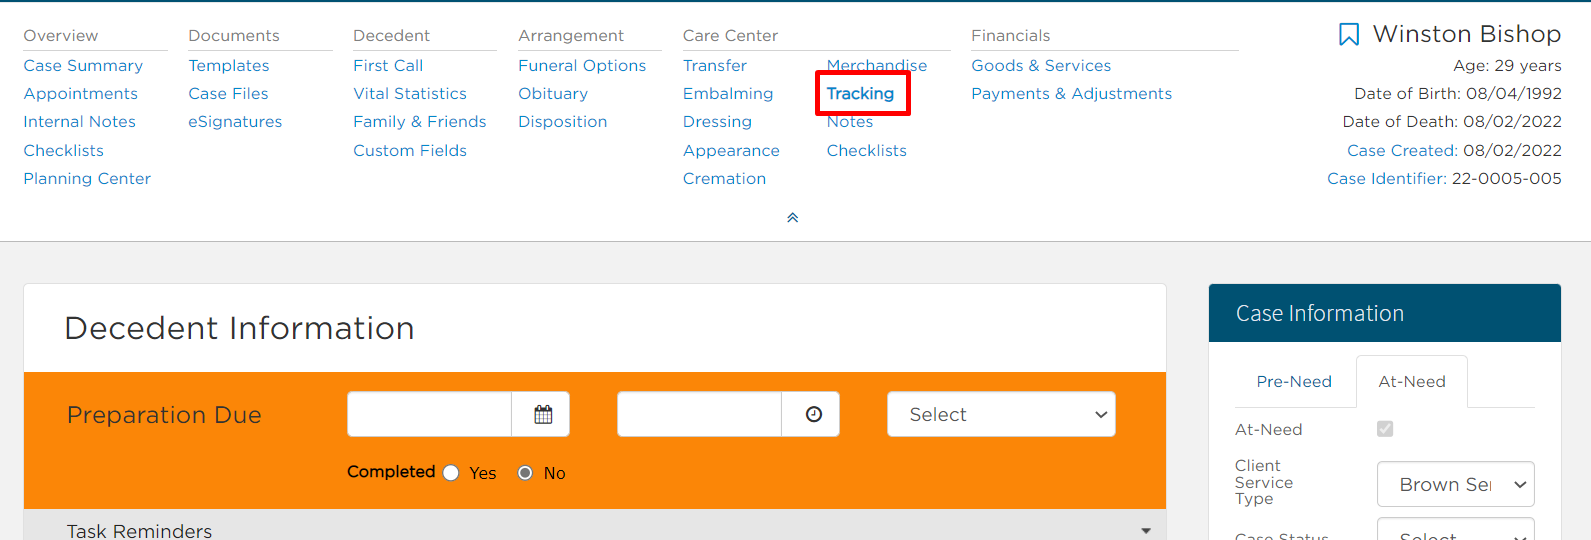
Halfway down the page you will see Tracking sections.
Location events history details the chain of custody: locations, user, date/time, and location notes.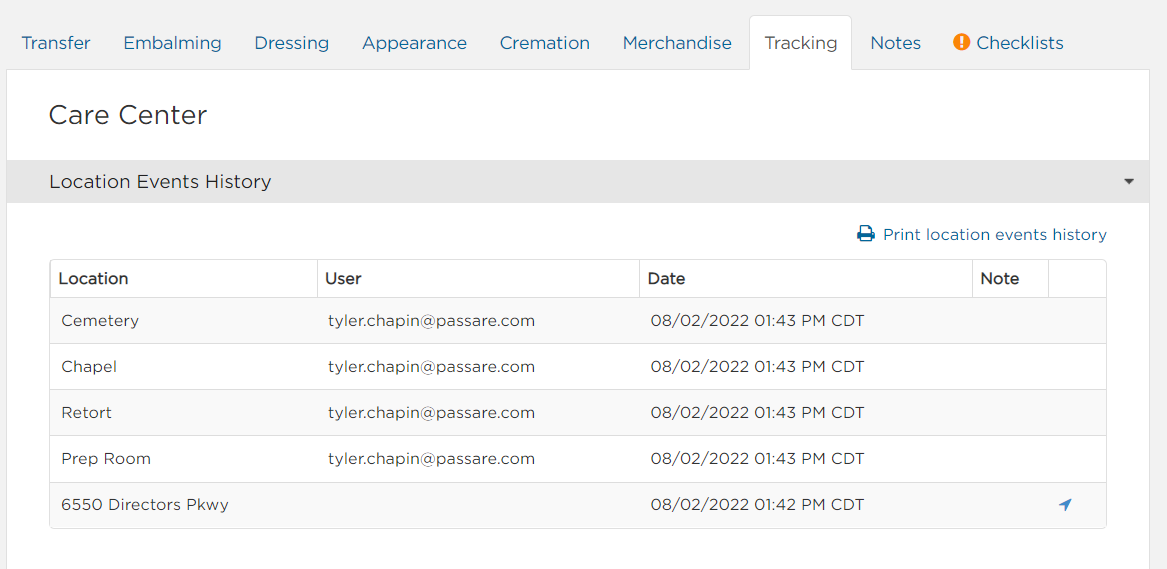
Tracking ID history lists out all QR codes assigned to this body.
Personal items section shows all belongings logged in the app including item description, action, ID, notes, and signature details.
You can also download the photo by clicking the picture icon on the right.

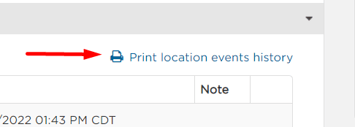
You can also download and print activity reports by clicking the print link in the top-right corner of each section.
Configure decedent tracking dashboard
First, select Add Dashboard Tab.

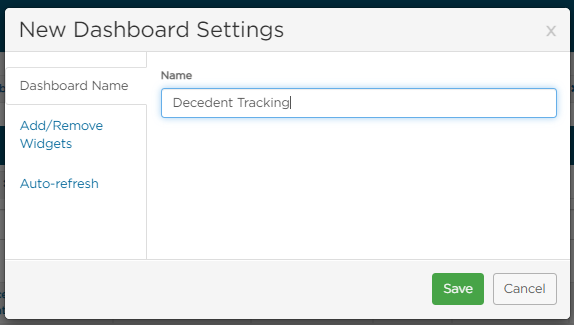
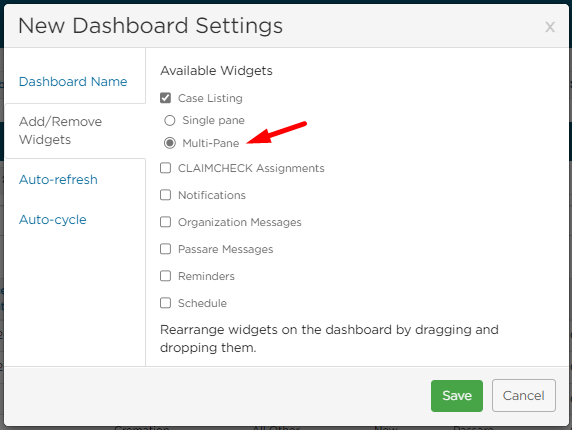
Fill out the New Dashboard Settings:
- Dashboard Name - "Decedent Tracking"
- Add/Remove Widgets - Multi-Pane Case Listing
- Auto-Refresh - turn on and select refresh interval
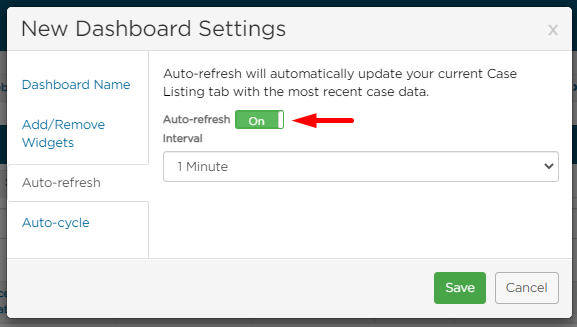
Save.
Next, you will configure the Dashboard columns.
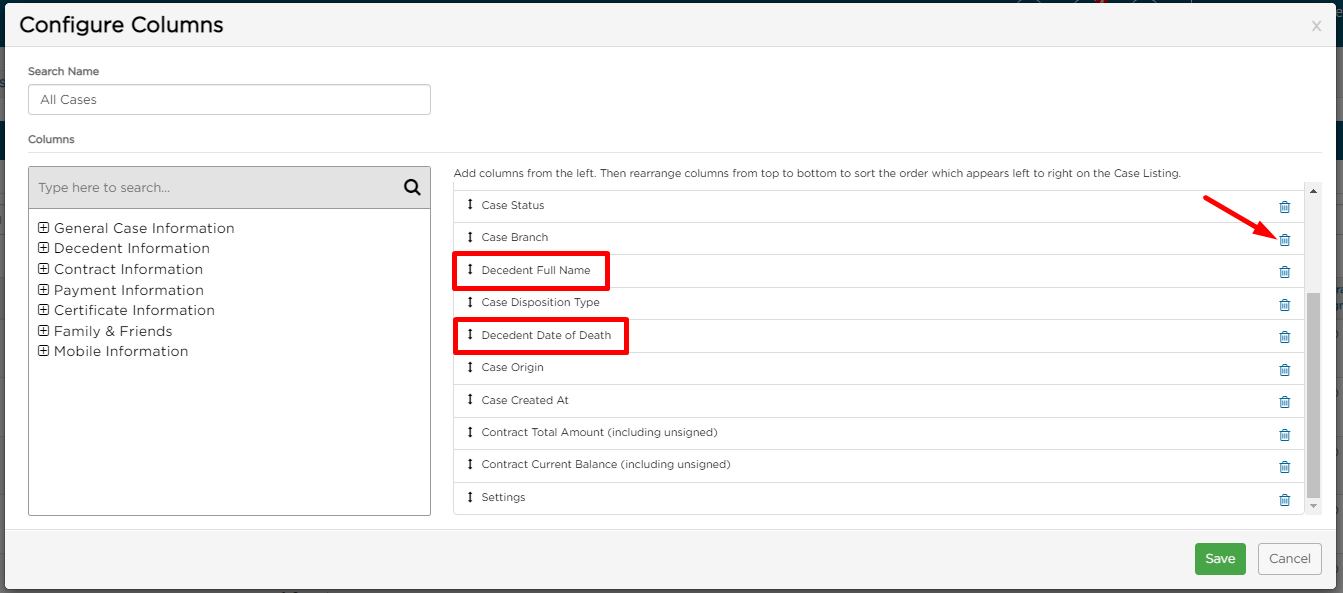
While selected on your new Decedent Tracking dashboard, click the gear icon in the top right corner.

Use the trash can icon to remove all columns, except Decedent Full Name and Decedent Date of Death.
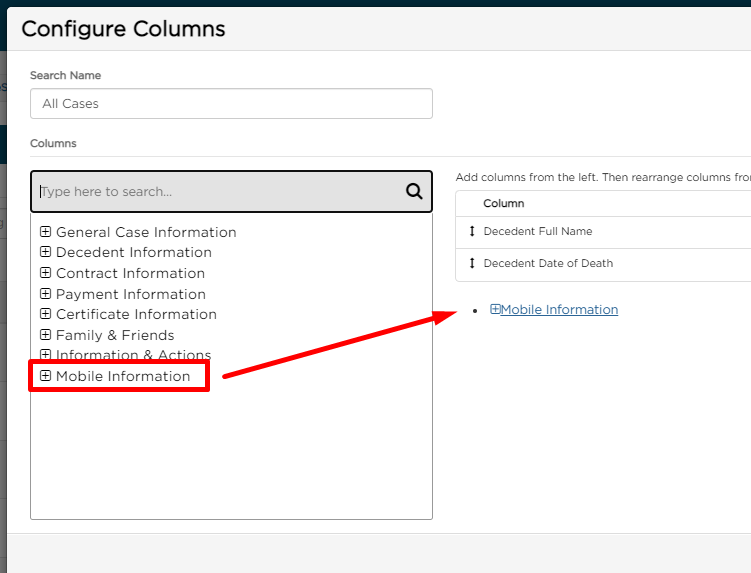
Next, drag and drop Mobile Information into the Columns list on the right. Multiple columns will be added to the list.
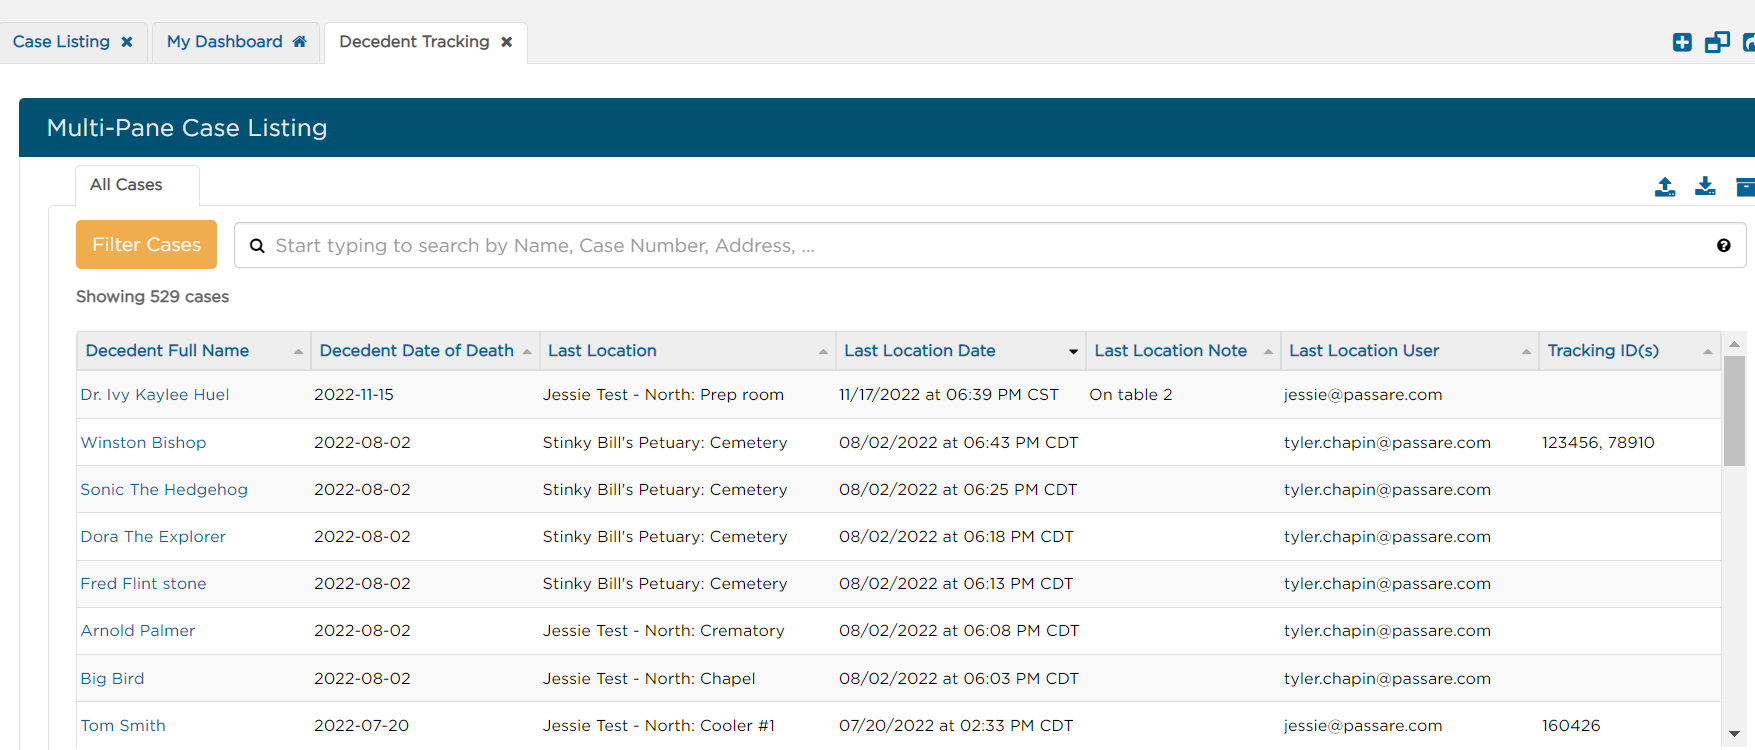
Save. Your dashboard should look like this, showing you app details per case.
Need more information?
Need Help? Email us at support@passare.com or call 1-800-692-5111!
