eSignatures on a Print & Sign contract
Learn how to collect digital signatures on a contract with the Print & Sign feature enabled.
What is Print & Sign?
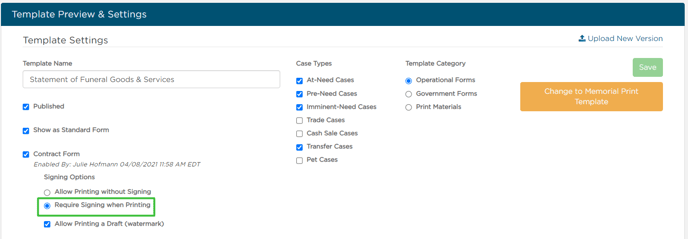
The Print & Sign feature requires a user to sign the Goods & Services page before printing off a paper contract.

Learn more about using the Print & Sign feature.
Collecting eSignatures
When the contract form for an organization has Require Signing when Printing selected, collecting signatures is done from the Goods & Services page.

When the contract is ready for signing, go to the Goods & Services page.
Select Yes, then select Get Signatures.

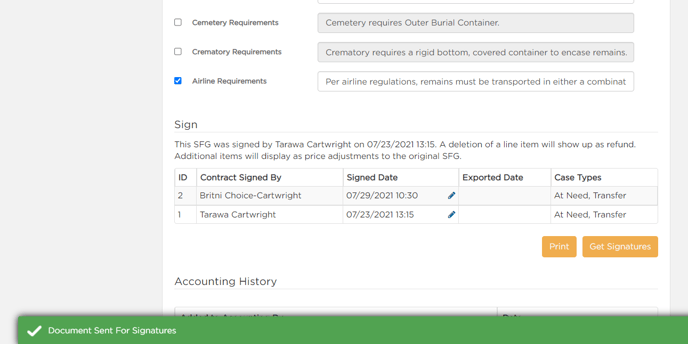
If the contract is already signed, the Get Signatures button will be by the Print button.
A modal will appear where you can add select which family members sign.
Select the Family & Friends from the dropdown or check the No signature needed box if one is not required.
Review or type in the email address and click send.

You'll see a confirmation message that the document was sent.

From here you will manage the contract just like other eSignature documents.
Need more information?
Need help? Email us at support@passare.com or call 1-800-692-5111.
