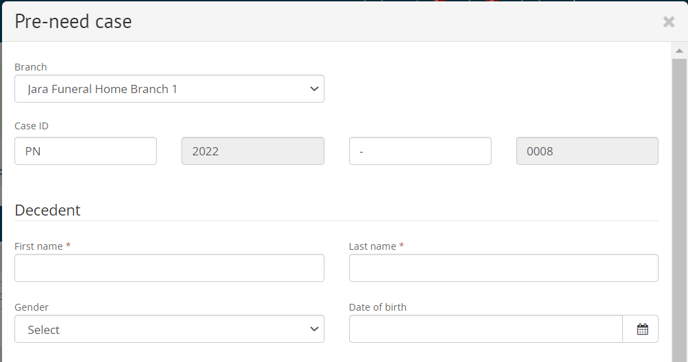
Create a pre-need case
Safely store the information for your pre-need contracts in Passare.
Create a pre-need case
Hover over the plus icon and select Case > Pre-need.

Similar to an At-need case, the First and Last Name are required.
Click create!

Select the pages in the case menu to navigate the case and add information.
Pre-Need Basics, Vital Statistics, Family & Friends, and Veteran Information are the areas used most to capture Pre-need data.

You must mark the case as having History of US Military on the Vital Statistics page in order to see the Veteran Information page.
If you add Goods & Services, do not sign the case. This will cause financials to appear on your accounting reports.
Signing should happen when the case becomes At-need.

Learn more about adding Pre-need contracts to Passare.
Convert Pre-need to At-need
Under the Case Information sidebar, select the At-need tab.
Check the box for At-need and Save.

Pre-need report
Run and download the Pre-need Lead report to find leads from previous At-need cases.
Go to Reports > System reports and search for Pre-Need Leads from At-Need Families.

Select your filters like branch, report format, and date range.
Click Run Report to receive the report file. You can also Save configuration to save these settings for future use.

Need more information?
Need help? Email us at support@passare.com or call 1-800-692-5111.
