
✋ To import to QBO you must first purchase SaasAnt, a third-party converter tool. The lowest subscription works well for this.
Jump ahead to
Set up QuickBooks
This export supports General Journal style accounting, not Invoice accounting.
First, set up a new account in QuickBooks called Passare AR. This will act as a holding account for funds exported from Passare.
In QuickBooks, go to Accounting > Chart of Accounts > New.
Select the settings shown below and save.
A few things to keep in mind:
- Type the account name exactly as written here. It is case-sensitive and must match perfectly to import correctly.
- If you use account numbers in QuickBooks, be sure to fill this in here. If you do not use account numbers, leave this field blank.
If you collect sales tax, make sure your QuickBooks has automatic tax rate turned off.
To do this, go to Taxes > Sales Tax in the left menu. Then select Sales Tax Setting in the top-right.
Click Turn off sales tax.
Choose yes to confirm.
✋ If you haven't already, contact our Support team now to set up QBO exports in Passare.
Export a Passare case
Before exporting, make sure the case(s) you wish to export are signed on Goods & Services.
Learn more about signing the Goods & Services page.
Then go to Reports > System Reports in Passare.
Search and select QBO Export.
Select the following report settings:
- Report Format: Excel CSV
- Delivery Method: Run & Send to Download Center (you can also email the file if you prefer)
- Date Range: Case(s) sign date range. You can select a predefined or custom range.
- We recommend selecting export all items up to end date. This will export all un-exported items, including changes to older cases that fall outside the date range.
- Filter Items to Be Exported: Export only un-exported items
- Case: Select an individual case or leave as All Cases.
- If this is your first time exporting, we recommend starting with one case.
- Preview Export:
- Check this if you want to view the import without flagging data as exported.
Do not import this file! - Leave unchecked when you are ready to import the file. Downloading the file while unchecked will flag data as exported.
- Check this if you want to view the import without flagging data as exported.

If you like these settings and want Passare to save them, click Save Configuration.
This will prompt you to name the configuration, then click Save.
Once all report settings are selected, click Run Report.
Next, go to Reports > Download Center (or email, whichever you selected as your Delivery Method).
Download the file and save to your computer.
Import to SaasAnt
Next, login to SaasAnt.
Go straight to the login page or navigate there from their website: Products > SaasAnt Transactions > For QuickBooks Online.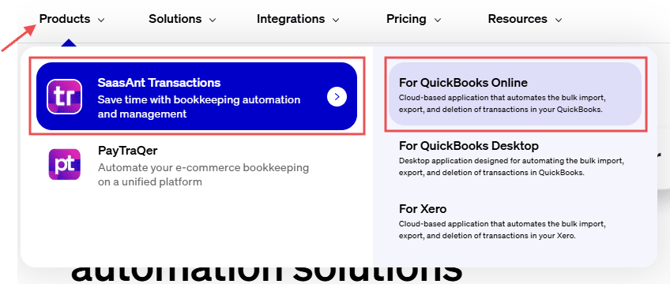
Login using your credentials. 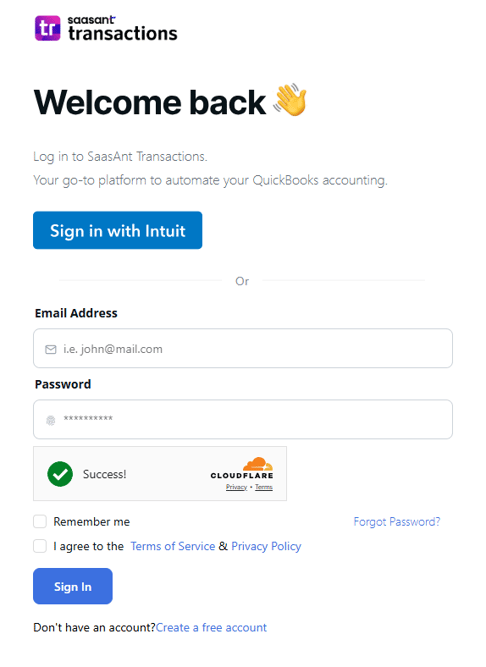
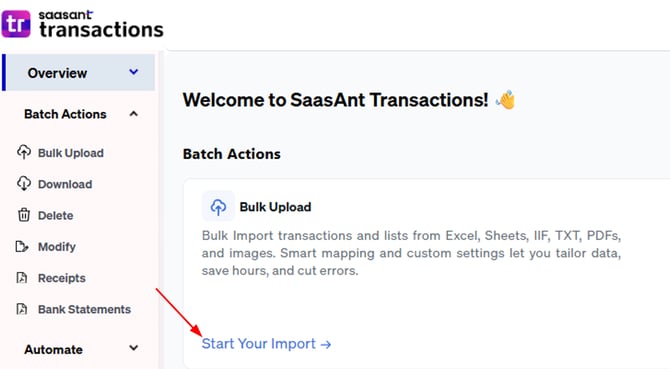
Click Start Your Import.
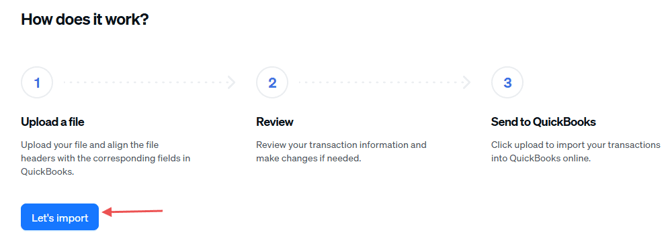
Then click Let's import.
On the next screen, select Journal Entries.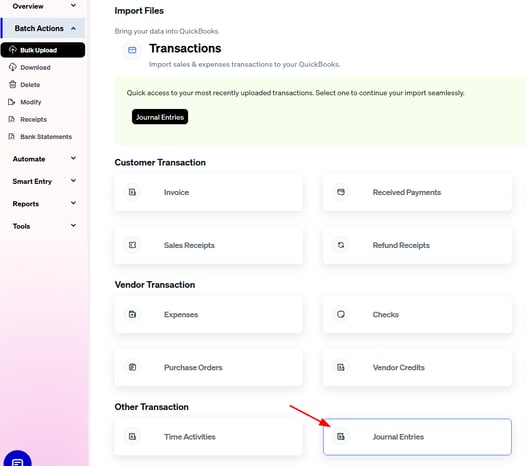
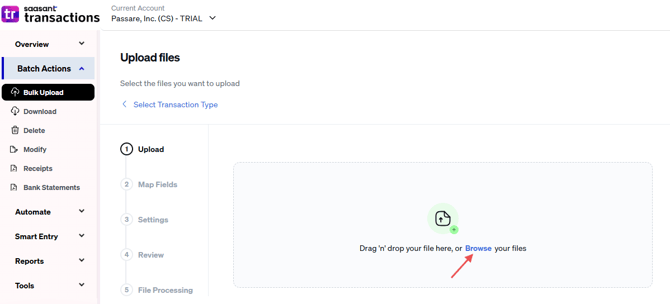
Drag or browse to upload your export file.
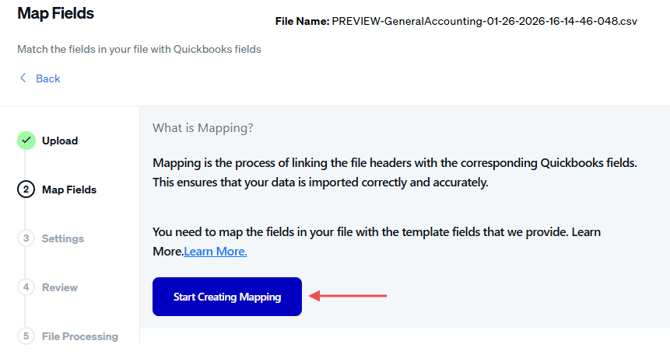
Next, you will set up and save mappings. This step is only done once with your first import.
Click Start Creating Mapping.
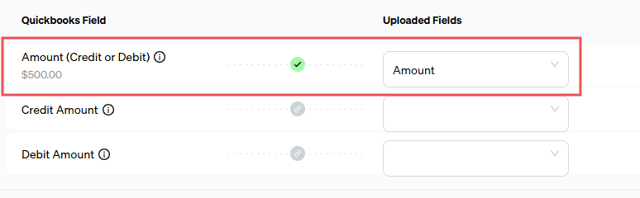
Use the dropdowns to map the following:
- Account: Account Number
- Description: Memo 1
- Amount (Debit or Credit): Amount
- Journal Date: Date
- Class: Class ID
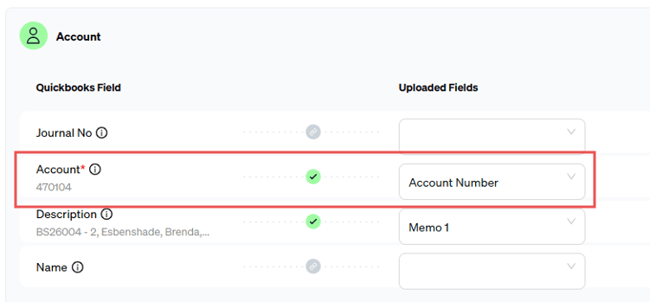
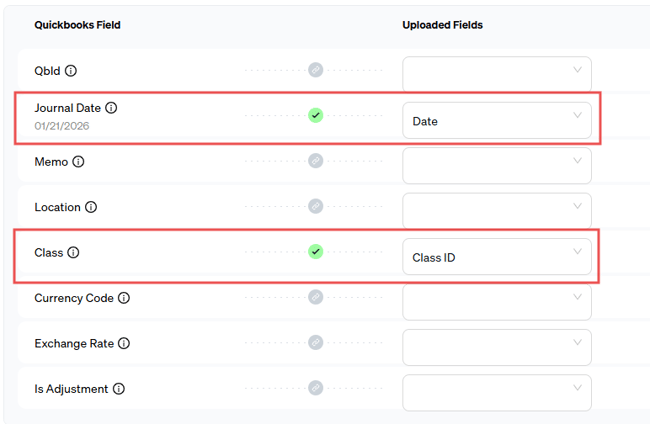
The mappings should have a green check mark when finished. Click Review to continue.
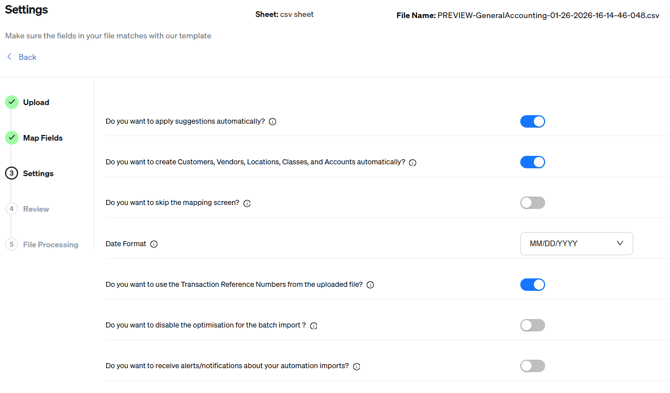
Adjust Settings on the next page if needed, then click Save and Continue.
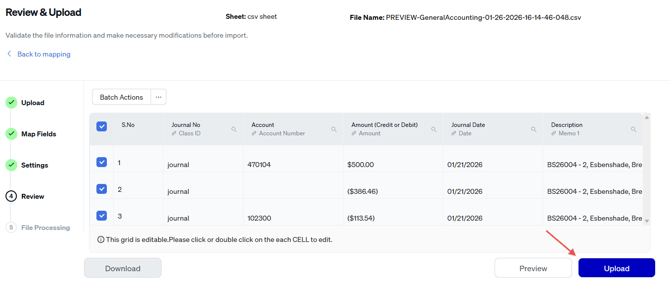
Check that the data is accurate. If needed, you can click a cell to make edits directly in the table.
Then, click Upload.
Once the file imports successfully, go into QuickBooks to review the entry.
If you're having issues, check out our QBO troubleshooting article.
Review data in QuickBooks
In QuickBooks, use the search bar to view recent transactions or search for the case.
You can also view the entry from Accounting > Chart of Accounts > Passare AR account.
Click on view register > journal entry > edit.
Click the journal entry to view details.
Need more information?
Need Help? Email us at support@passare.com or call 1-800-692-5111.