
Jump ahead to
Add Tasks widget
On the Dashboard, select Add Dashboard.

Name the new Dashboard.

Under Add/Remove Widgets, select Tasks.

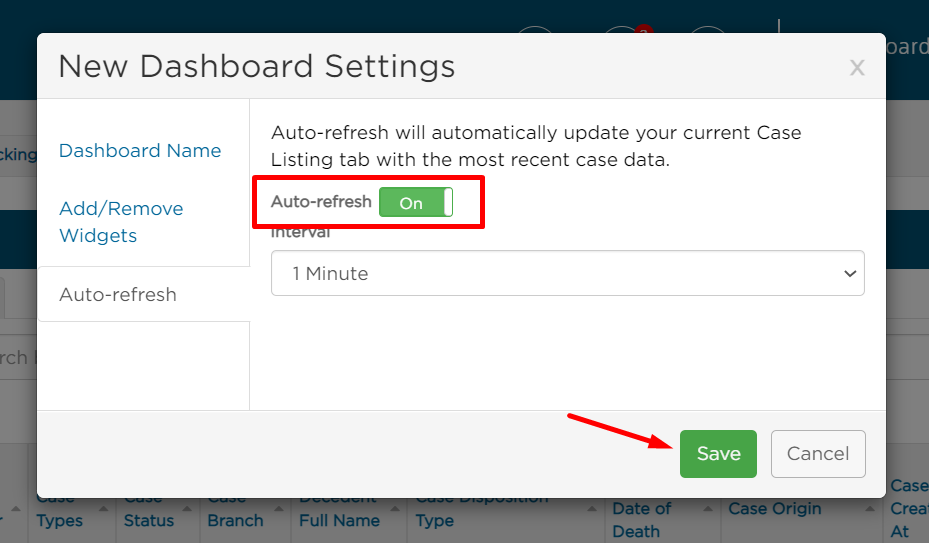
Turn on Auto-refresh to ensure the widget stays up to date with current data.
You can adjust the refresh interval to 1 minute, 5 minutes, or 15 minutes. Then save!
You will see your Tasks widget as a new Dashboard tab. You will also see 4 default tabs there:
All tasks, Incomplete, Complete, and My tasks.
- All tasks shows completed and incomplete tasks
- Incomplete shows tasks not yet completed
- Complete shows completed tasks
- My tasks shows any task where you are assigned as the owner

Default tabs show tasks for cases created or converted in the past 7 days.
Mark tasks as complete
Marking tasks as complete using the bubble next to it.
An empty bubble indicates an incomplete task, and a checked bubble indicates a completed task.
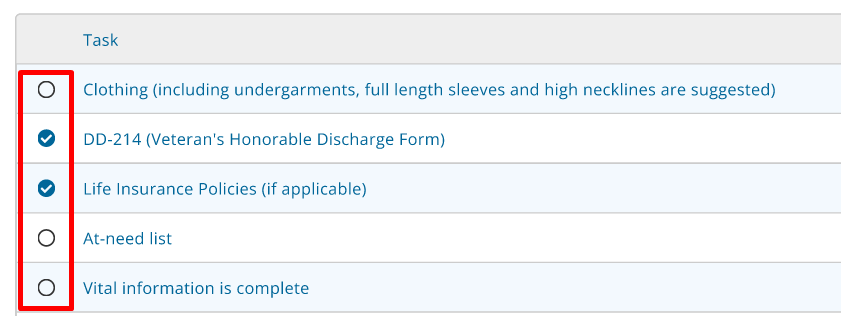
✅ To mark a task as complete, click the empty bubble to fill it in with a check. After a few seconds, the task will fall off of the Incomplete tab and be added to the Completed tab.
⬜ To undo a completed task, uncheck the filled-in bubble to mark it as 'incomplete'. If the task has already moved to the Completed tab, you can do this action from there.
Add, edit, and delete tasks
Add tasks
Create tasks using the add icon in the navigation menu.

Add task details like task name, case, checklist, due date, owner(s), and reminder.
Then click Add.

Edit tasks
To edit a task, click the ellipsis in line with that task and select Edit.

Make edits to the task details and click save.

Delete tasks
To delete a task, click the ellipsis in line with that task and select Delete.

Confirm that you want to delete the task by clicking Delete.

Comment on tasks
To comment on a task, click the ellipsis in line with that task and select Comment.

The commenting modal will appear where you can add, delete, and edit comments for this task.

If a task has comments, the widget will show the number of comments in the Comments column.
You can also click this number to view comments.

Organize tasks
Keep tasks organized through filters, sorting, search, and downloads.
Filter tasks
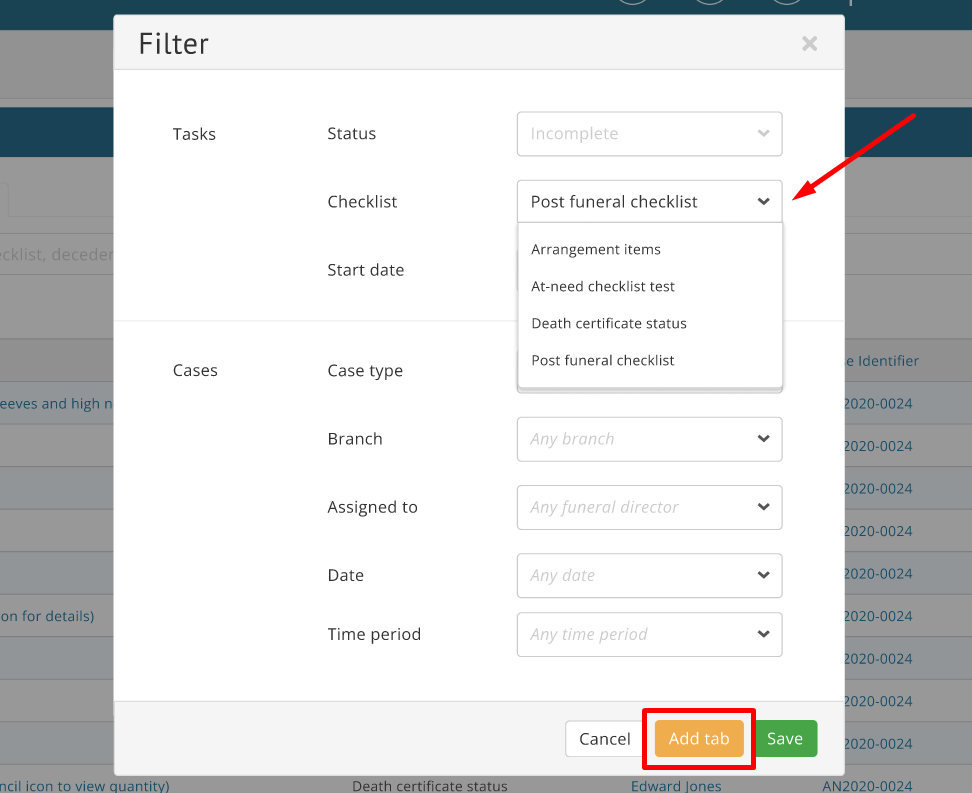
Filter your tasks in any view using the Filter button.

Use the dropdowns to select filter(s) like checklist name, funeral director, start date, and more.
To create a new tab, select Add tab. To update your existing tab, select Save.
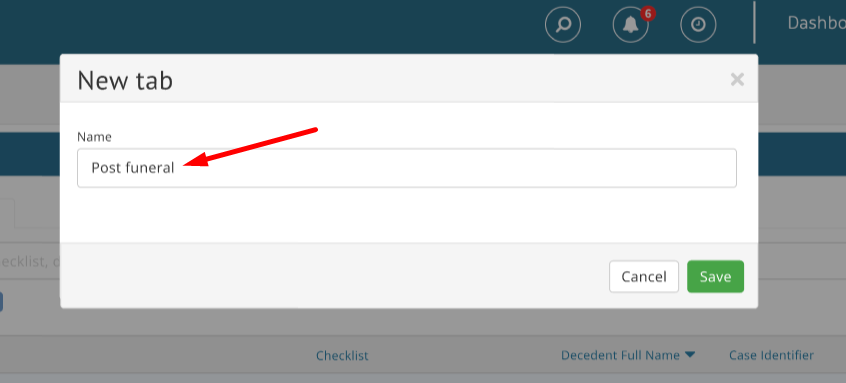
Next, you will be prompted to name your tab and save.
You can easily remove a filter by clicking the x in its blue tag.

Default tabs cannot be removed. To create a new tab, filter from the All tasks tab.
Sort tasks
To view data in a specific order, sort the data by clicking on a column header.
Click once to sort that column's data in descending order, and twice for ascending order.

Search tasks
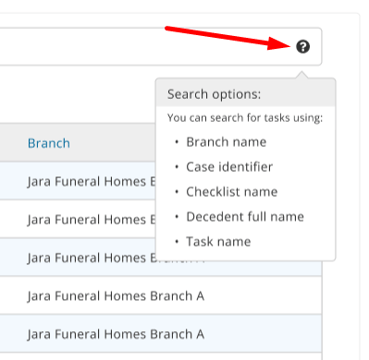
Find what you need quickly with the search bar. Here, you can search by checklist, task name, branch and more.

Click the question icon for a detailed list of search criteria.
Download task data
You can also download the table into a CSV file by clicking the file box icon in the top right.

The download will be delivered depending on your computer's settings.
Select the download to open in Excel.


Need additional information?
Need help? Email us at support@passare.com or call 1-800-692-5111.