
Jump ahead to
- Select documents
- Prepare documents
- Send for signatures
- How the director signs
- Digital signing in person
- Managing eSignatures
- Security
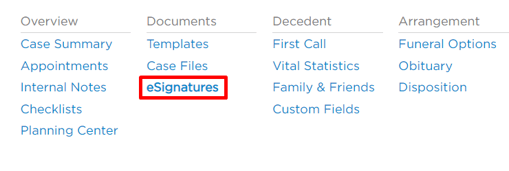
Select documents
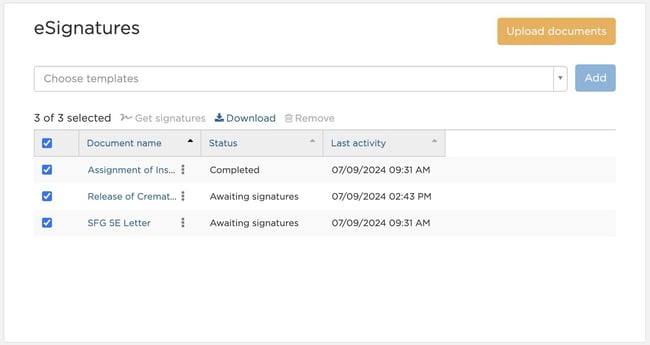
In the case, go to the eSignatures page.
Search and select documents from the dropdown, then click Add.
These will list in the table below.

Documents with the scribble icon are already set up for signatures. However, any document can be prepared for eSignatures through the editor.
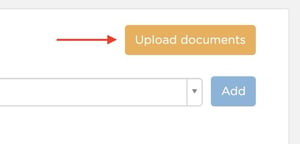
For documents not in the dropdown, click Upload documents to select from your computer.
This will only upload the document to this case.
Make sure the documents are checked and click Get signatures.
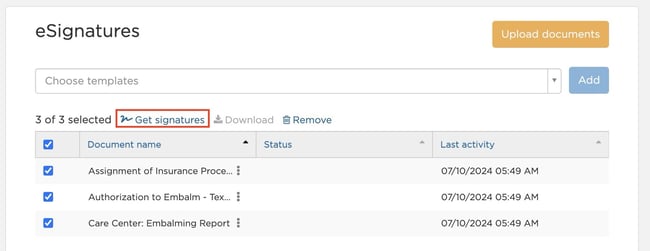
Then, you will be taken to the editor to prepare and send the document(s).
Prepare documents
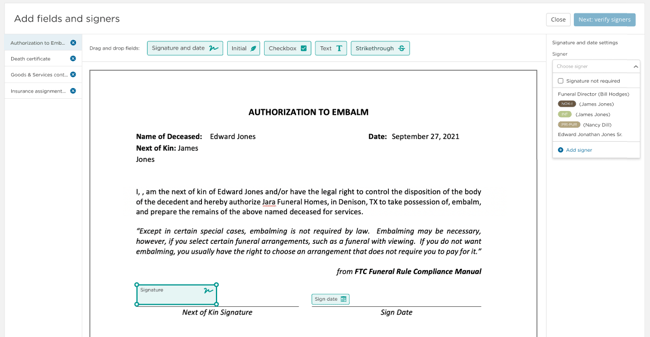
The left-hand side will show all documents you selected for signature.
Select each document to edit or click the x to remove it.
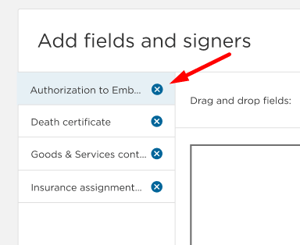
Drag and drop fields from the top of the editor onto your document. These should be used anywhere you need the family to type or sign.
Resize fields to fit your document by dragging their corners.
If a form has already been mapped for eSignatures, fields will be fixed in the editor view.
To update placement, edit the original document or contact Passare Support.
Select each field and configure its settings on the right-hand side.
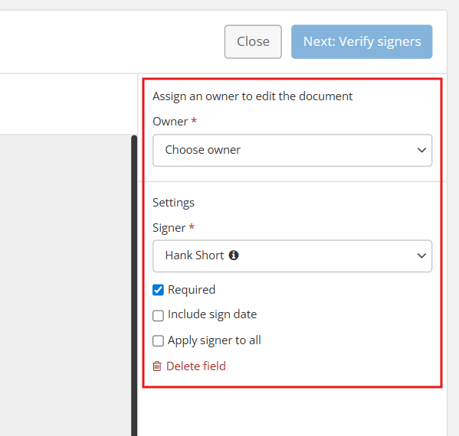
Owner
Select a document owner. This is the sole person responsible for filling out the form before others sign.
You can also choose Owner not required if there are no fields to fill out, or Add owner if the family member isn't listed.
.gif?width=670&height=186&name=chrome-capture-2026-05-26%20(1).gif)
To view a person's roles, hover over the info icon.

Checkboxes, dates, and text fields will be red until a selection is made in the Owner field.
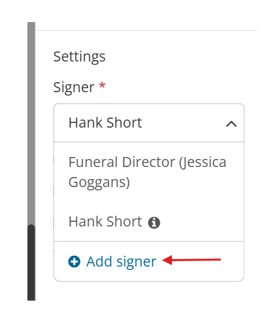
Signer
For signatures and initials, choose a signer.
.gif?width=670&height=205&name=chrome-capture-2026-05-22%20(1).gif)
If the person is not listed, click Add signer to add them.
You can also include sign date, which will populate the date after signing, or apply signer to all if there is only one person signing this form.
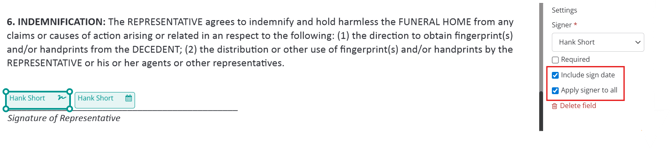
Signature and initial fields will be red until signers are assigned.
Required fields
Mark fields as required to ensure the family doesn't miss a signature or field. This is available for all field types.
Signature and initials are required by default, but can be made optional by unchecking this setting.
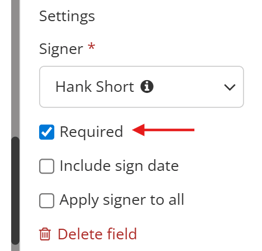
Required fields will appear in red in the Planning Center, and families cannot finish documents until all required fields are filled out.
Grouping fields
If the form asks for a selection, you should group the fields together. Only checkboxes and initials can be grouped.
To group, click and drag across the fields and select Group fields.
Grouped fields will have a dashed border around them.
.gif?width=670&height=196&name=chrome-capture-2026-05-26%20(2).gif)
If this section allows multiple selections, leave the Choose multiple box checked. If it should only allow for single selection, uncheck this box.
Multi-selection will remain as checkboxes, and single selection will appear as radio buttons.
.gif?width=670&height=200&name=chrome-capture-2026-05-26%20(3).gif)
To edit, move, or delete a single field within a group, double-click it and make the change.
To add a new field to an existing group, select the field with the group, then click Group fields.
Other settings
On checkboxes, indicate if it should appear as checked or not using the Checked setting.
You can also select the checkbox and click your space bar to check it.
.gif?width=302&height=188&name=chrome-capture-2026-05-27%20(1).gif)
On text fields, you can change the font size. You can also double-click the field to type on the document yourself.
.gif?width=352&height=222&name=chrome-capture-2026-05-27%20(2).gif)
On strikethroughs, you can adjust the length and change the color between black, blue, or red.
.gif?width=433&height=194&name=chrome-capture-2026-05-27%20(3).gif)
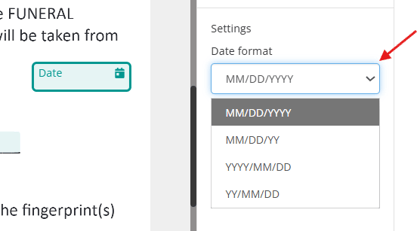
On dates, you can change the date format.
Send for signatures
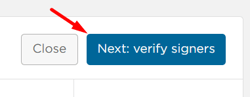
Once the document is prepared, click Verify signers.
Fill in any missing emails and select each signer's Planning Center role.
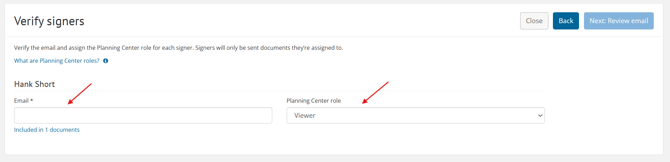
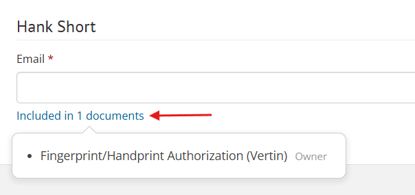
To view a list of documents going to each signer, hover over the Included in # document link below their email.
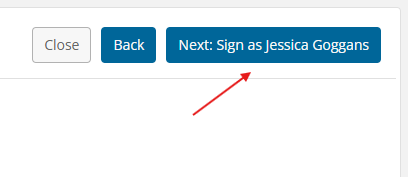
If you are a signer for any form(s), click Next: Sign as (your name).
Check the Sign now box next to the documents you need to sign.
Then click the Terms and conditions box.
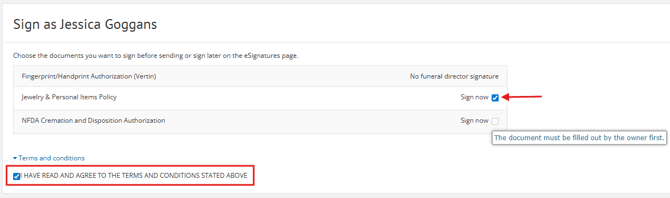
If a document owner is selected, the Sign now box will be disabled until the owner signs. When this happens, follow the steps here.
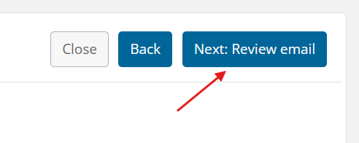
When you're done, click Next: Review email.
Review the email text and add a personal note, if you'd like.
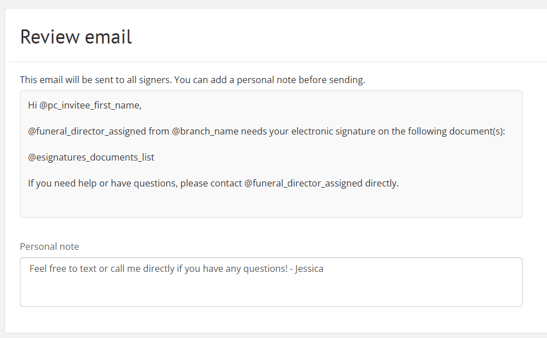
Once everything looks good, click Send!
How the director signs
If documents have an owner, they must sign before you can as the director.
Once they have signed, you will get notified via notification, Passare note, email, and/or text.
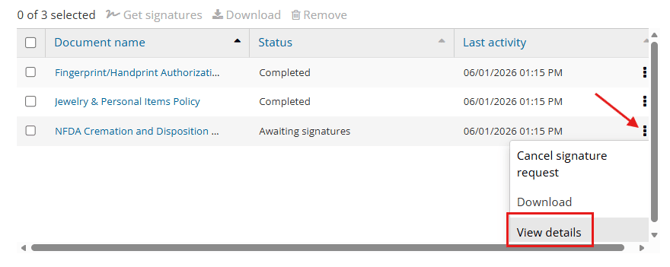
Click the notification or navigate to the case's eSignatures page.
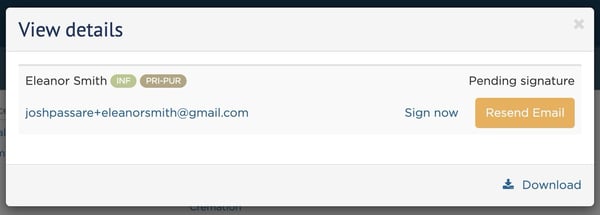
Then click the ellipsis next to the document name and select View details.
Next to your name, click Sign.
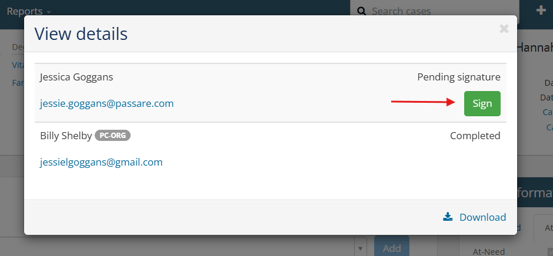
Read and check that you agree to the terms and conditions. Then click Sign and submit.

Digital signing in person
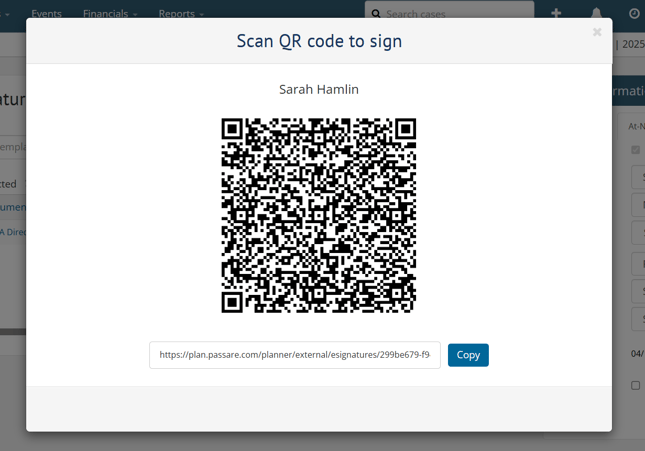
You can offer electronic signing in person with a QR code. The family will scan the code and sign directly from their device.
To do this, find the document on the eSignatures page.
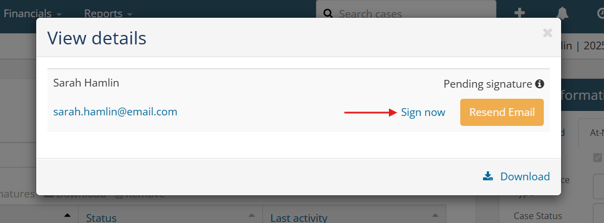
Click the ellipsis and go to View details.
Click Sign now to generate a unique QR code and link.
By using the QR code or link, families will not need to create a Planning Center account.
Manage signatures
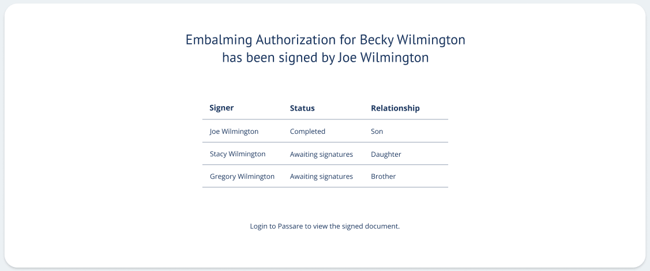
Track document statuses from the case eSignatures page.
The status will show as Awaiting signatures or Completed, depending on whether or not it's signed.
Learn how to track eSignatures on your dashboard.
To cancel a request, click the ellipsis next to the document and select Cancel signature request.

To resend a request, go to the same ellipsis menu and select View details > Resend email.
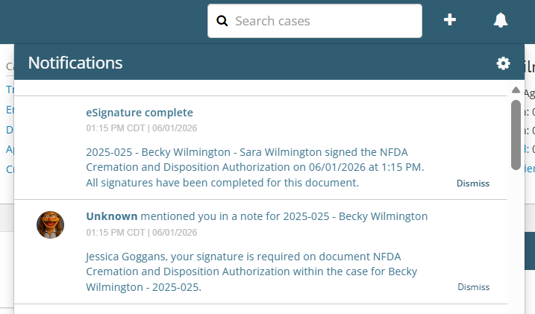
If you turned on notifications, you will receive a text or email whenever a document is signed, showing the current signature status.
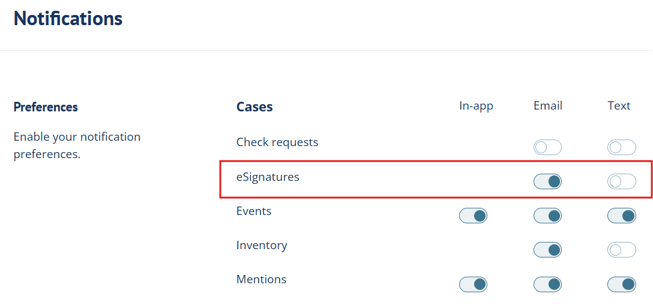
Notifications
Enable notifications to monitor the status of your eSignatures.
To do this, click the bell icon and select the gear icon.
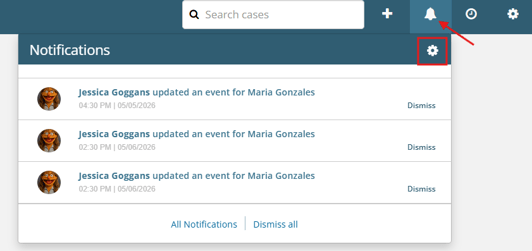
Toggle on notifications for text, email, or both, then save!
To be notified via text, make sure your cell phone number is entered into your Passare profile.
Security
There are several measures in place to ensure documents remain secure through the signing process.
-
You can download the latest version of a signed form at any time.
-
All versions of forms are safely stored and accessible upon request.
-
We have an optional setting to print the IP address of the signer directly underneath each signature on the document.
- We have limited document editing to the document preparer (director/staff) and owner (family member).
How to enable IP address stamps for eSignatures
You can turn this setting on/off under Settings > Planning Center > eSignatures.

In the section titled IP address, toggle on or off the setting.
You can still print IP address information separately for a completed document by clicking the ellipsis icon > View Details > download.
Need more information?
- Create a custom form or template
- eSignatures on a print and sign contract
- Getting started with dashboards
Need help? Email us at support@passare.com or call (800) 692-5111!