
Jump ahead to
- Turn on notifications
- Select documents
- Editing modal
- Send the document
- How the family signs
- Manage signatures
- Commonly asked questions
Turn on notifications
Enabling notifications will help you monitor the status of document signing.
To do this, click the bell icon at the top of Passare. Then, select the gear icon.

Toggle on notifications for text, email or both. Then save!
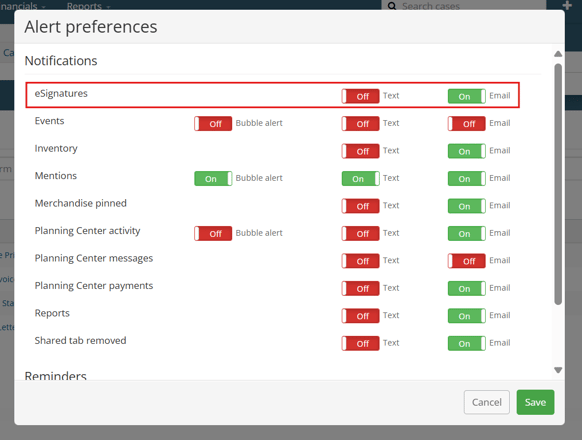
To be notified via text, make sure your cell phone number is entered into your Passare profile.
Select documents
Now you are ready to select and send documents for signature.
Open the case you need signatures for and navigate to the eSignatures page. This can be done for any case type.
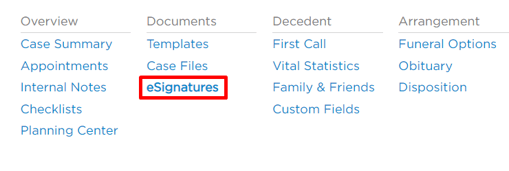
Select from the dropdown which document(s) need signatures and click Add. The selected documents will be listed below.

The scribble icon indicates the document is already mapped for signatures. However, any document can be customized to capture signatures through our editing modal.
For any documents not listed in the dropdown, add them for one-time use through the Upload documents button. You will be prompted to browse your computer for the file.

With all necessary documents added, click Get Signatures to prepare the document(s) for signing.

You will be taken to the editing modal to prepare the document for signatures.
Editing modal
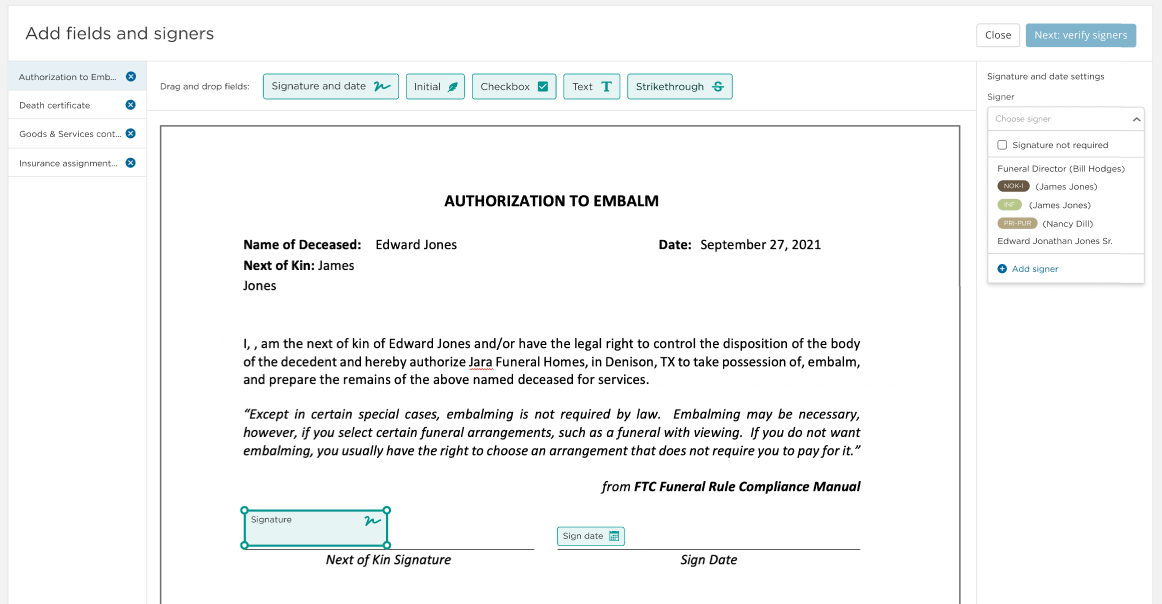
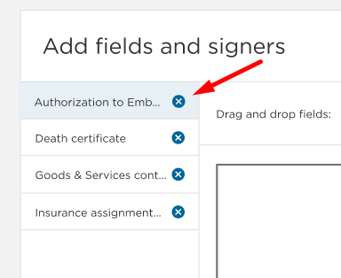
The left-hand side will show all documents you selected for signature.
Select each document to prepare it or use the x to remove it.
First, se the drag and drop fields to prepare the document before sending it.
To do this, simply drag the field onto your document and use the corner to resize.

There are 5 types of fields available:
- Signature and date

This field displays a full signature drawn or typed by the signer; the sign date is optional. - Initial

This field captures signed initials drawn or typed by the signer. - Checkbox

This field allows you to place and check a checkbox. - Text

This field allows you to place and type into a textbox. - Strikethrough

This line strikes through text when placed over it.
If a form has already been mapped for eSignatures, signature boxes will be fixed within the editor. To change these, edit the original document or contact Passare Support.
While placing fields, select each one and configure its settings on the right-hand side.

Document owner
The owner is the sole family member with permission to edit the document before all parties sign.
They must also be a signer for the document.
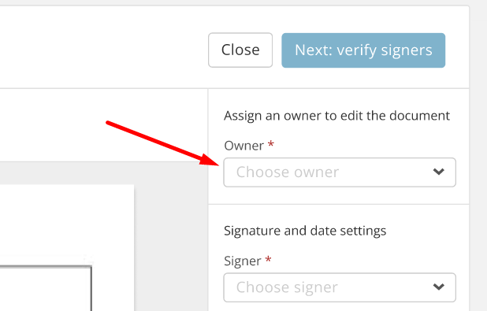
You can add an owner or select Owner not required if there are no fields for the family to edit.
To see a person's roles, hover over the information icon.

Field settings
![]()
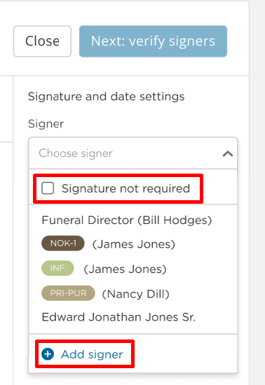
![]() On Signatures and Initials fields, choose a signer from the dropdown.
On Signatures and Initials fields, choose a signer from the dropdown.
![]() For Signatures only, decide if you'd like to include a sign date. This will populate the date after signing.
For Signatures only, decide if you'd like to include a sign date. This will populate the date after signing.

Once selected, the signer's name/initials will appear in that field for reference.
You can also check apply signer to all signatures if they are the only one signing this document.

To bypass a signature, check Signature not required checkbox.
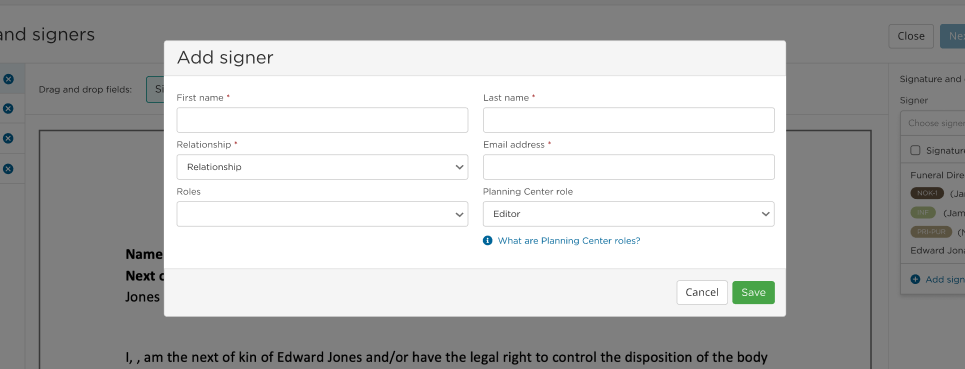
Click Add signer to add another family/friend.
Add signer prompts a quick-add Family & Friends entry modal.
![]() For Checkbox fields, choose if the box should be "checked" or "unchecked".
For Checkbox fields, choose if the box should be "checked" or "unchecked".

![]() For Text fields, select font size and type directly in the field.
For Text fields, select font size and type directly in the field.
This information will be editable by the owner and hardcoded for all others.

![]() For Strikethrough, you can place, stretch, and change the line's color.
For Strikethrough, you can place, stretch, and change the line's color.

Send the document
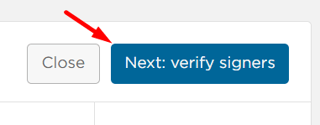
Next, you'll verify the details and have the option to sign as the director.
Once the document is prepared, click Verify signers.
Fill in any missing information for signers. You can also select that person's Planning Center role.
The Planning Center role dropdown will only display for at-need cases.
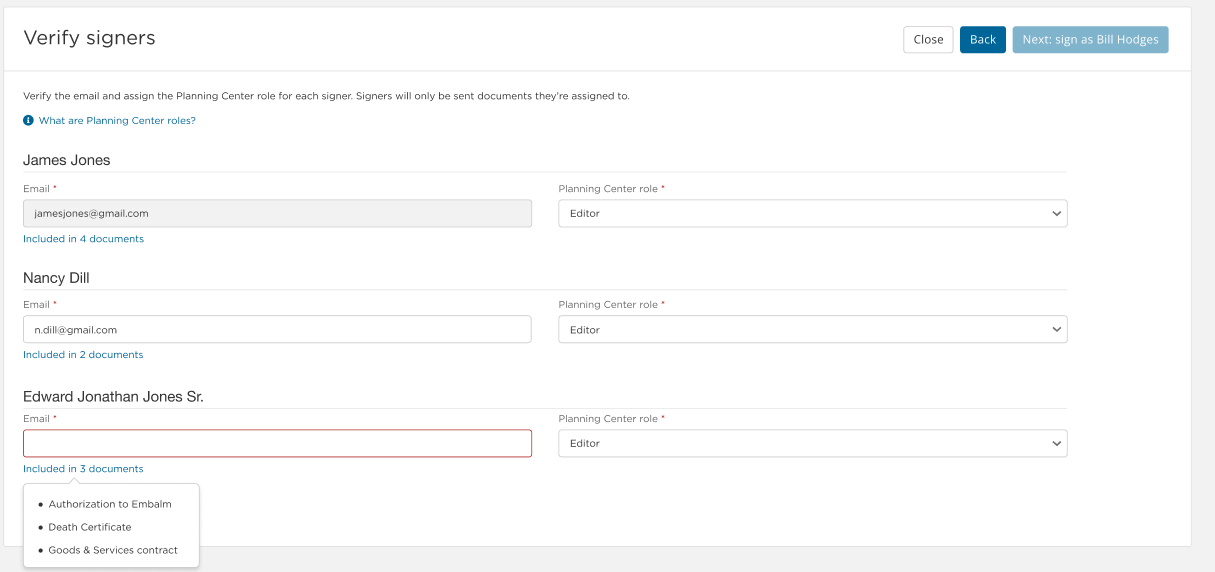
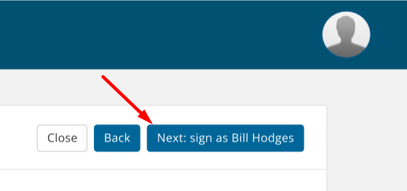
When you're done, click Next to sign the documents as the funeral director.
Use the checkboxes to indicate which documents you are signing.
Remember to read the Terms and Conditions before moving on!
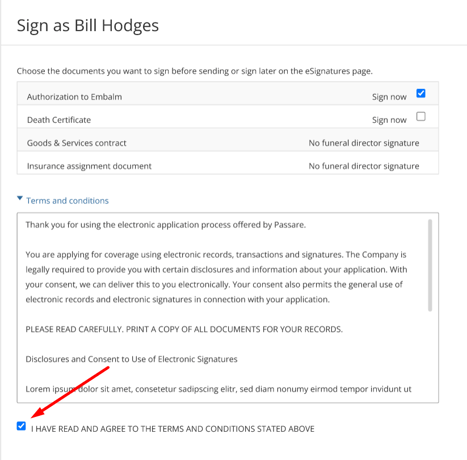
Signing the document will make it uneditable. Do not sign the document yet if the family needs to make edits.
To sign after the family, visit the case > eSignatures page > find the document. Select the ellipsis > Signature Details.
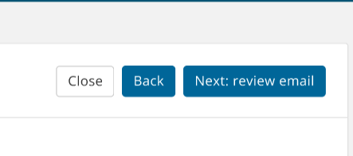
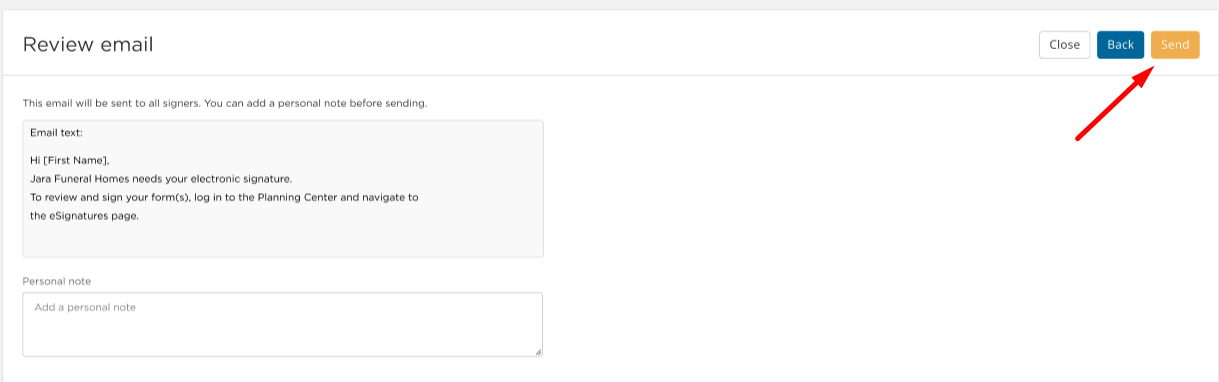
Click Next: review email for a final review before sending.
Review the email, add a personal note if you'd like, and click send.
How the family signs
All families will sign documents in the Planning Center. They can access it through the emailed link (using an account) or by a QR code (without an account).
Email link
Once documents are sent, the family can begin signing by clicking the Sign now link emailed to them.
They will be prompted to create a Planning Center account, then directed to the eSignatures page.

In person
If you're with the family, you can provide a QR code that allows them to sign right from a device.
To access the QR code, find the sent document on eSignatures page > ellipsis > View details.
Click Sign now to generate a unique QR code and link.
If the family scans the QR code or follows the link, they will not need to create a Planning Center account.


Links will expire 14 days after sending. Click Resend Email to reset the 14-day window.
Whether the family created an account or used the QR code, they will be directed to the eSignatures page.
Here, they should select the documents they want to sign and click the Start signing.

Next, they will draw or type their signature, then click Use signature.

They will click each yellow box to apply their signatures. A counter in the top-left corner shows how many signatures are remaining.
For multiple documents, after signing they will click Next to go to the next document.

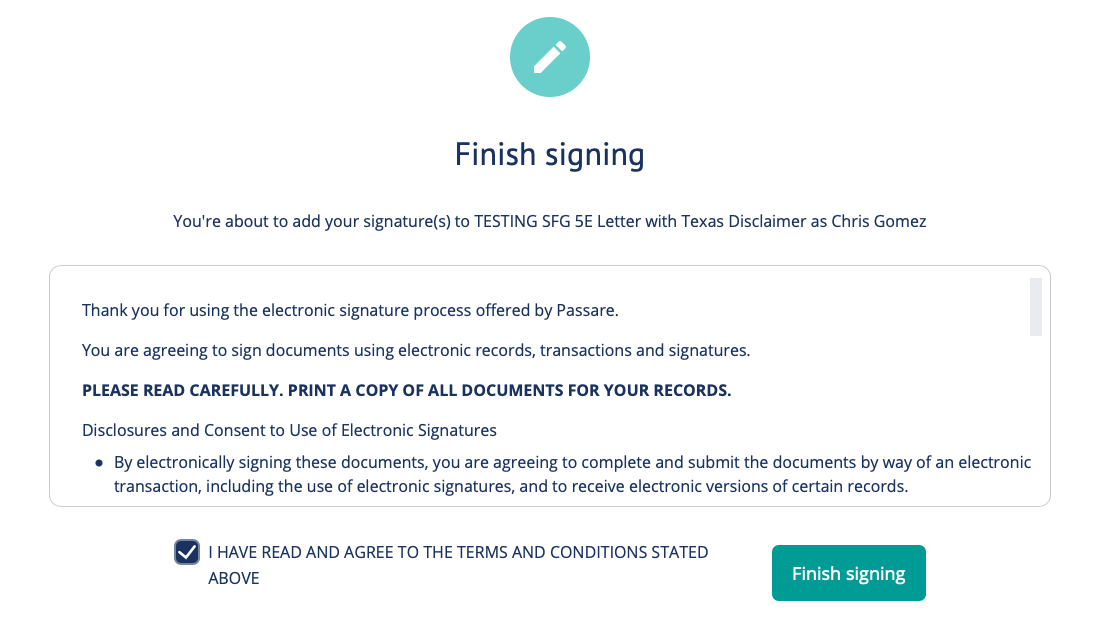
Once all documents have been signed, they will click Finish.

Finally, they should check the box to agree to the Terms and Conditions, then click Finish signing.
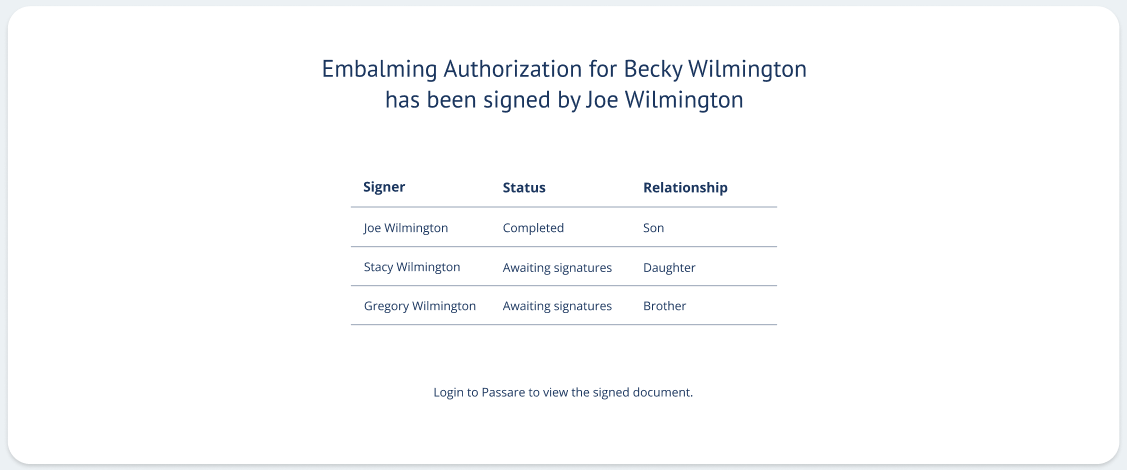
Confirmation and document copies will be emailed to them once all parties have signed.
When signing for at-need cases, the family can access signed forms in the Planning Center.

As soon as the forms have been submitted, the funeral director will be notified.
Manage signatures
Track document statuses from the case eSignatures page.
The status will show as Awaiting signatures or Completed, depending on whether or not it's signed.

Learn how to track eSignatures on your dashboard.
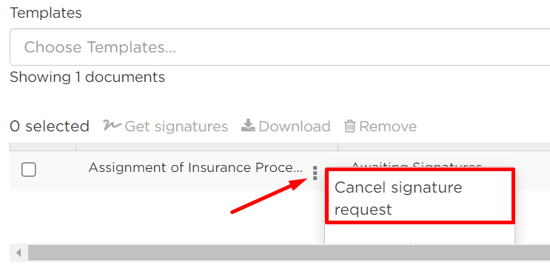
To cancel a request, click the ellipsis next to the document and select Cancel signature request.
To resend a request, go to the same ellipsis menu and select View details > Resend email.

If you turned on notifications, you will receive a text or email whenever a document is signed, showing the current signature status.
Commonly asked questions
Q: How can I ensure the integrity of my signed document?
A: We have taken several measures to make sure documents are secure through the signing process.
-
You can download the latest version of a signed form at any time.
-
All versions of forms are safely stored and accessible upon request.
-
We have an optional setting to print the IP address of the signer directly underneath each signature on the document.
- We have limited document editing to the document preparer (director/staff) and owner (family member).
Q: How do I turn on/off IP address stamps for eSignatures?
A: Printing IP addresses under each signature is one way to ensure the signature's validity, but you may not want them directly on the document.
You can turn this setting on/off under Settings > Planning Center > eSignatures.

You can still print IP address information separately for a completed document by clicking the ellipsis icon > View Details > download.
Q: Will my eSignatures Dashboard widget update?
A: Yes! The eSignatures Dashboard widget will reflect the current eSignatures version you are using.
Just keep in mind that, before switching from eSignatures 1.0 to eSignatures 2.0, any documents with awaiting signatures will need to be canceled first and resent through the new version.
Need additional information?
- Create a custom form or template
- eSignatures on a print and sign contract
- Getting started with dashboards
Need help? Email us at support@passare.com or call 1-800-692-5111!